

The Last Of Us Left Behind Walkthrough
The Concluding of Us: Left Behind (opens in new tab) lets you lot see what Ellie'south earth was like before she met Joel, besides as filling in a gap during the primary storyline when she heads off to gather medical supplies. Still, if you want to experience Ellie and Riley's consummate story and so you'll need to find all the artifacts and engage in every piece of bachelor dialogue, and that's where this guide comes in.
The following pages show where to observe every collectible and optional conversation, allowing you to get the full picture as well every bit unlocking the BFFs and Picked Clean Trophies. It's advisable to catch all of these during a single playthrough, but if y'all do overlook any you lot can go back through Chapter Select afterwards to pick up the ones you missed.
Looking for more assistance with the DLC? So check out our The Last of U.s.a. Left Backside hidden trophies guide (opens in new tab) , and for the main game visit our The Terminal of U.s.a. collectibles guide (opens in new tab) .
Chapter 1 – Back in a Flash
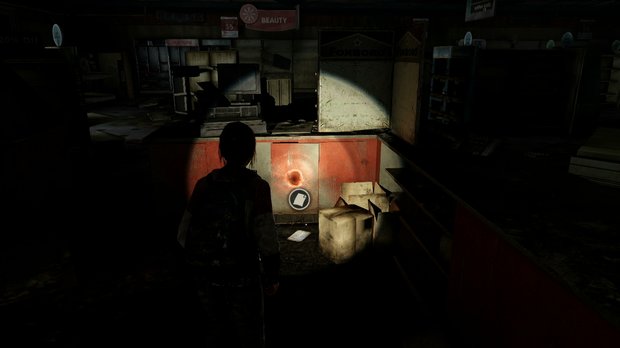
Combination Annotation
Found within Weston'due south Pharmacy backside the counter. [Story related]
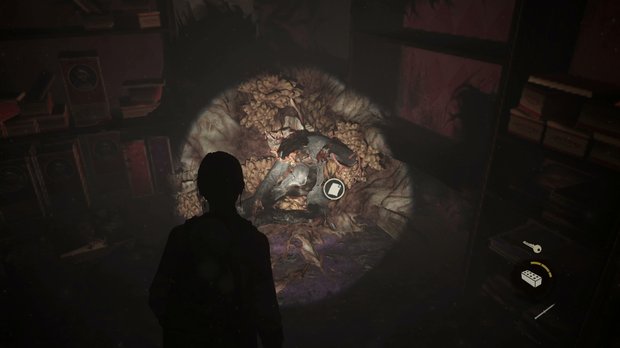
Chemist's Note
After collecting the primal from the body in the spores, option up the note that drops.
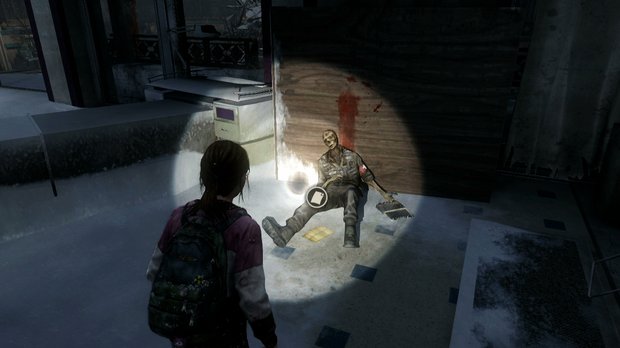
Salon Annotation
After moving through the Pixitek shop into Rarity Blast Salon, selection up the annotation side by side to the soldier's body.
Chapter 2 – Mallrats
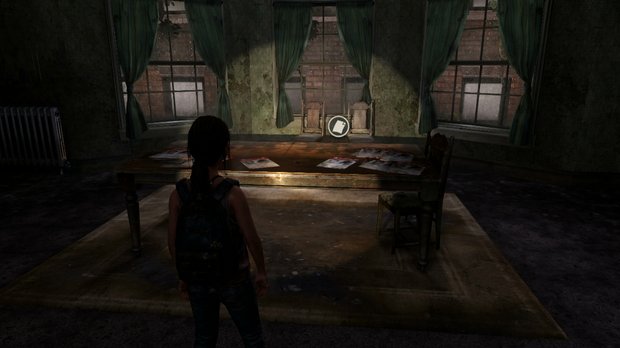
Wanted Poster
After going upward the first prepare of stairs and ducking nether planks into a room, caput towards the windows and expect on the large table.
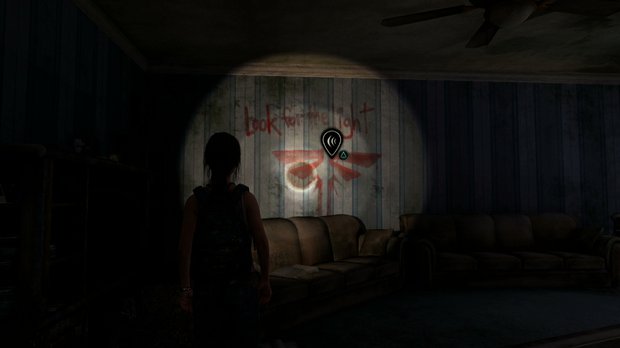
Optional Chat 1
After shimmying beyond the narrow ledge and climbing into the next room, follow Riley and look for the Firefly logo on the wall to your left.
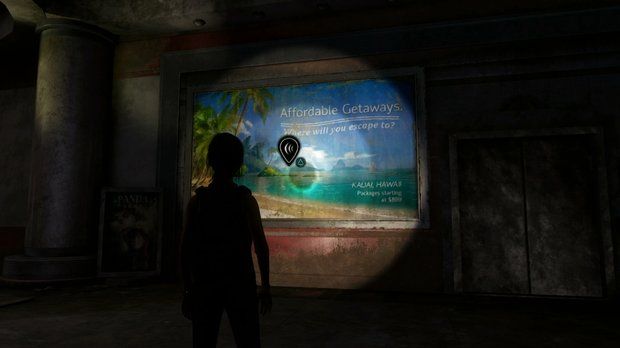
Optional Conversation 2
Once you've dropped down into the mall and gone down the escalator, turn right at the bottom and head to the Hawaii holiday poster.
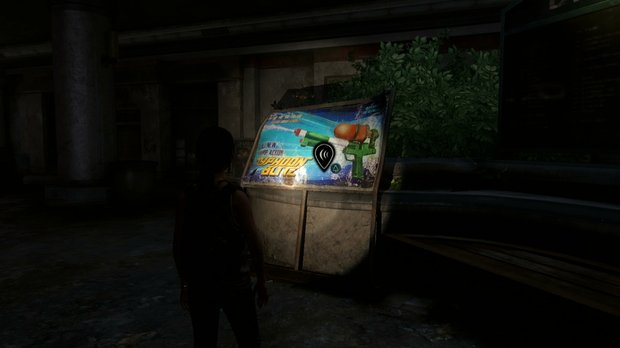
Optional Conversation 3
Heading back past the escalator, expect for a poster for water guns next to a large planter.
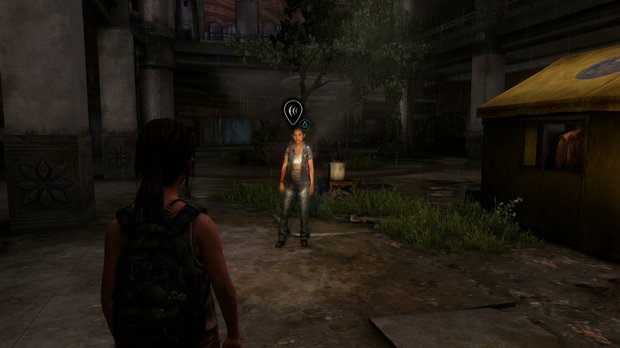
Optional Chat 4
At the bottom of the next escalator, talk to Riley exterior the yellow tent.
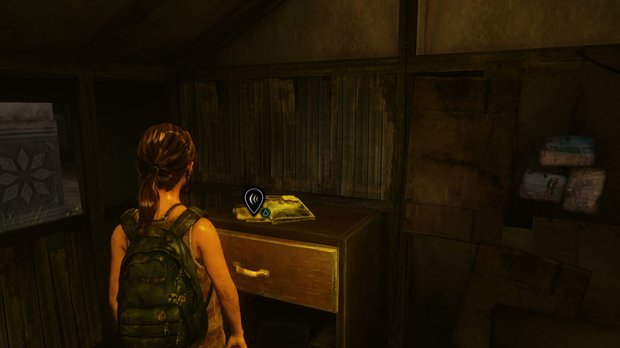
Optional Conversation 5
Inside the yellow tent, expect at the papers on the chiffonier at the back.
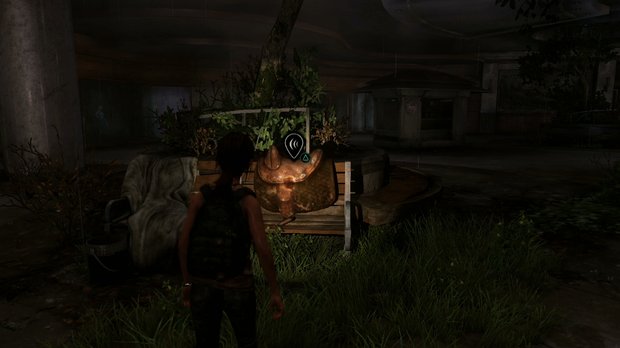
Optional Conversation half dozen
Back exterior the tent, go straight forwards to find a saddle over a bench.
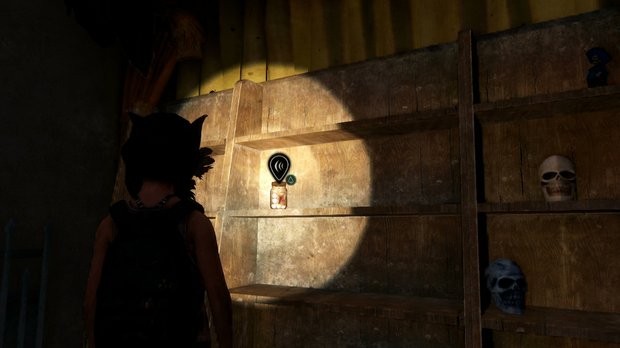
Optional Conversation vii
Later on putting on the wolf mask in the Spooky Town shop, head to the back right corner to find a jar of eyeballs.
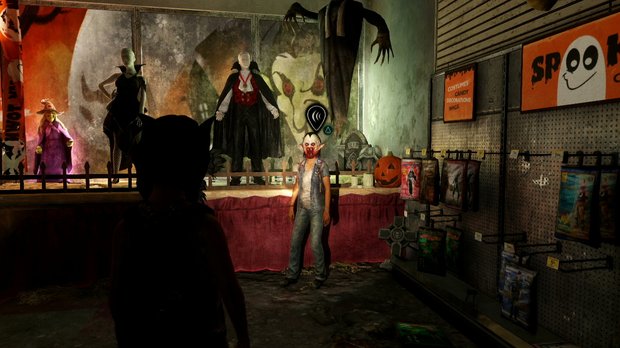
Optional Conversation eight
Follow Riley to the next corner and talk to her later she puts on the Dracula mask.

Optional Conversation 9
Head dorsum to the centre alley and put on the green witch mask, then talk to Riley.
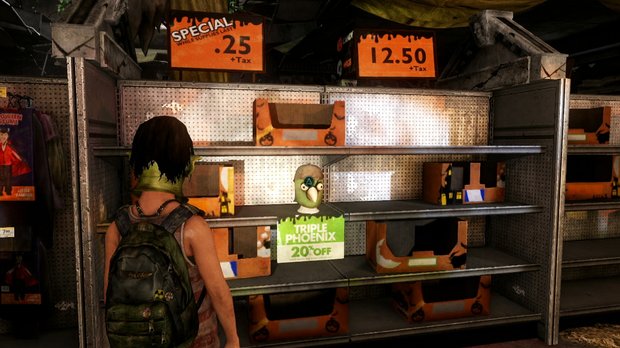
Optional Chat 10
In the alley past the go out door, put on the Triple Phoenix bird mask.
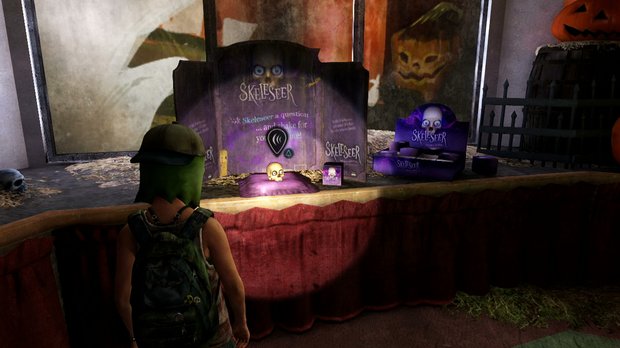
Optional Conversation 11
Caput into the corner to interact with the Skeleseer skull, then go along interacting to go through all the dialogue options – there are viii in total.
Warning Annotation
Later throwing bricks at cars y'all'll head down some stairs into a basement. Get into the room on the left as soon as yous enter the corridor and await on the desk adjacent to a typewriter and suitcase.
Chapter 3 – So Close
Atrium Note
When the chapter starts under the crashed helicopter, move towards the corner to your right and look by the gurney trolley in front of the Glazed Dough store.
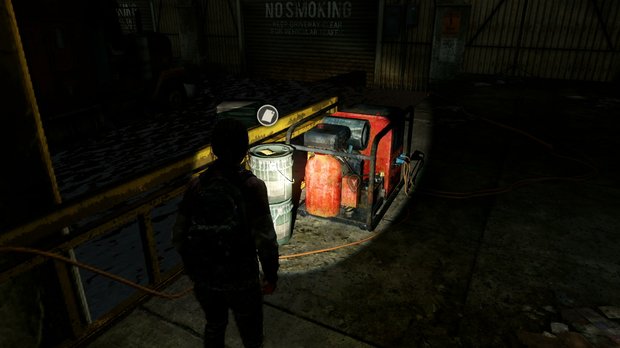
Generator Annotation
Institute on top of some containers next to the generator, hard to miss!
Atrium Recorder
After firing up the generator and getting through the previously locked door back in the atrium, head up the escalator so turn left and look inside the tent.
Chapter four – Fun and Games
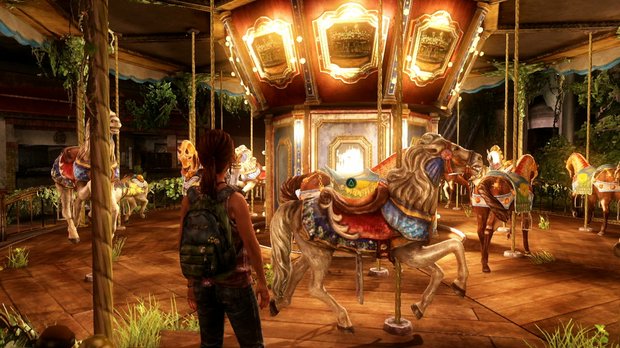
Optional Conversation 12
Caput over to the carousel and interact with the equus caballus.
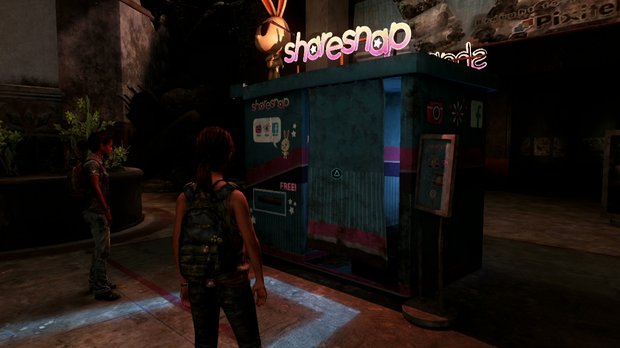
Optional Conversation 13
Caput downwards the steps and collaborate with the Sharesnap photograph booth.
At this point you should unlock the BFFs bays.
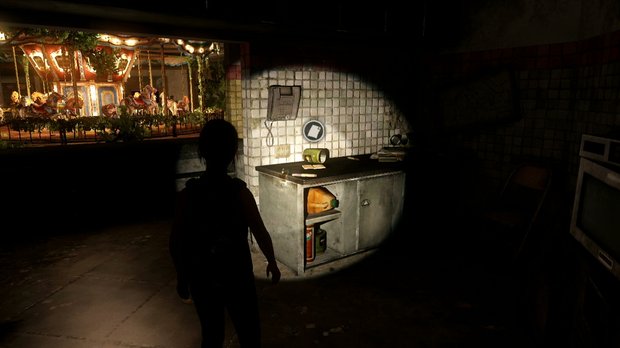
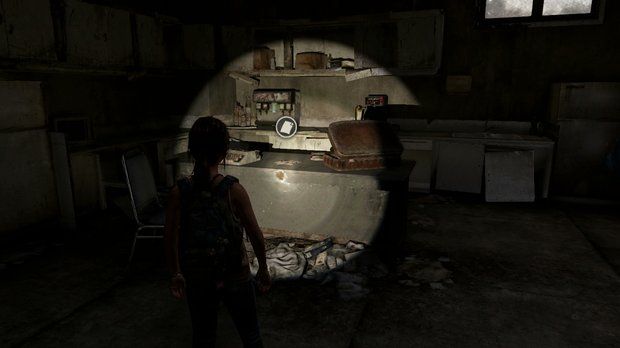
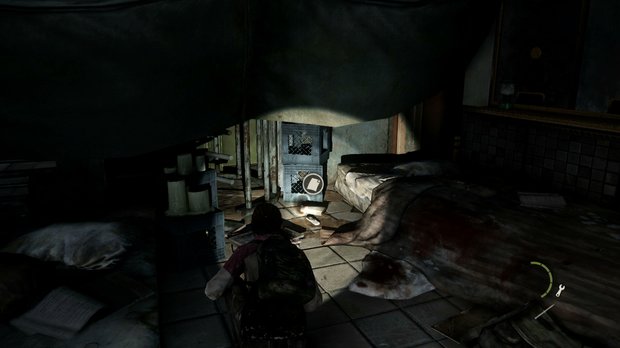
Kitchen Note
When you head back upwardly the steps from the photo booth, enter the Fast Burger kitchen on your left and expect on the counter in the back.
Chapter 5 – The Enemy of My Enemy
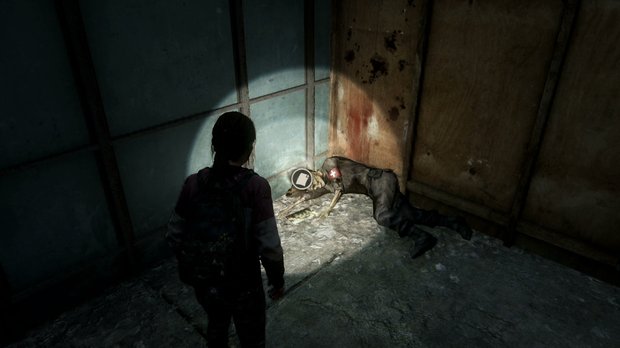
Coiffure Photograph
At the start of the chapter when you leave the helicopter and caput to the wide hallway, enter the boarded upwards shop on your right (marked "COMING SOON") and bank check the body in the far corner.
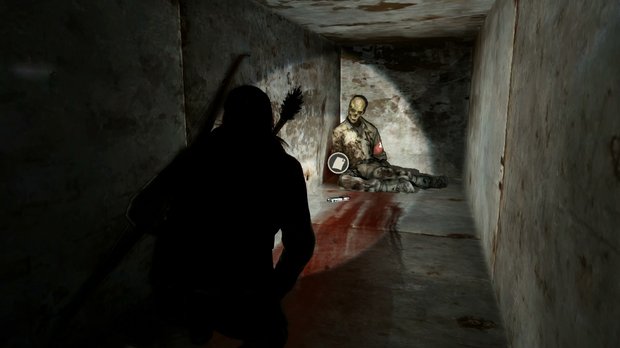
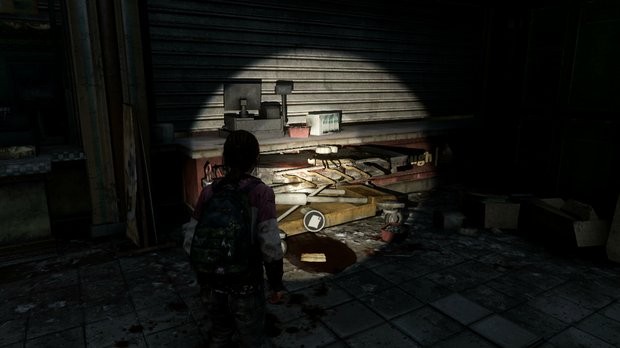
Duct Recorder
After dealing with the first set up of enemies and entering the air duct, follow the trail of blood to a body in a expressionless terminate earlier going down the slope.
At this point you lot should unlock the Picked Clean trophy. Congratulations – yous've found all The Last of U.s.: Left Backside Collectibles and Optional Conversations.

The Last Of Us Left Behind Walkthrough,
Source: https://www.gamesradar.com/uk/last-of-us-left-behind-collectibles-and-optional-conversations-guide/
Posted by: dangelofirlifer.blogspot.com
0 Response to "The Last Of Us Left Behind Walkthrough"
Post a Comment